Sample Post Template with Cheat Sheet
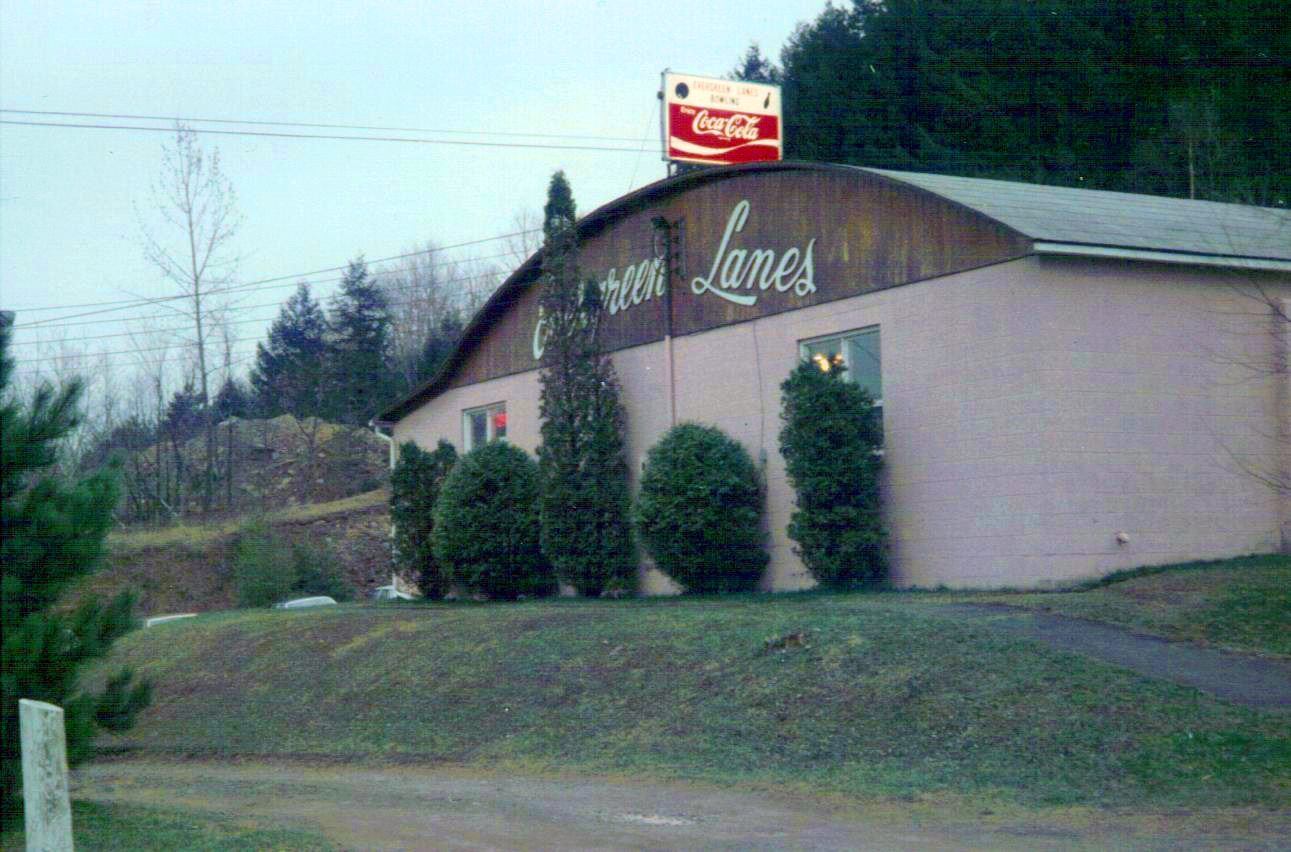
PHOTOS AND CAPTIONS. Caption text inserts here. To change the image above, click the image, select the “module settings” cog icon, click the image in the popup window, select the (cog icon) and upload the image from the image library or upload an image from your computer to the image library. You can insert a caption when you upload or you can insert it later via the image library. Be sure to save your changes.
Head
CHANGING TEXT:
To insert new text, put click this box, select “module settings” (the cog icon) to open the editing window. Replace the text, click the green check symbol icon in the lower left to save the changes. Before closing the post, sure the save the overall post by clicking the purple button on the lower right of the post.
CHANGING POST TITLES
Post titles (at the very top of the post) can’t be changed via the Divi Visual Builder. Exit Visual Builder, select “Edit Post” and change the title from there.
CHANGING COLUMNS
To change the number of columns, click the in the green row box, select the green “row settings” and select the “Change Column Structure” icon to see and select from various column configuration options.
CHANGING TYPE STYLING
When you edit text (Text Settings Window), you can also change the paragraph designation using the formatting tools popup window — “Paragraph, Heading 1, Heading 2,” etc… The formating for Paragraph, Heading 1,” etc… can be changed using the tools available in the “Design” tab (purple section at the top of the Text Settings Window).
MOVING ELEMENTS
To move an element (row, module, etc…) select the element, and select the “Move Module” icon. It is a click and drag feature.
DUPLICATING ELEMENTS
To duplicate an element (row, module, etc…) select it and click the “Duplicate” icon.
FEATURED IMAGE
The “Featured Image” is the picture that appears on the collective blog post (i.e. Tin Horn, News, etc…) listing page. The Featured Image can’t be changed via Visual Builder. Exit Visual Builder, select “Edit Post” and use the tools on the right column to change, upload or delete the featured image.
Dividing Rule and Subhead. If not needed, delete the Subhead Module, or entire row.
PHOTO GALLERY
To revise the a photo gallery, click on the photo gallery module and click on the “Module Settings” cog icon. Delete the current space holder images and upload the new ones by clicking the box with the gray circle while + symbol. Be sure to add a caption to the image when you upload it.
Once all your images are uploaded, you can click and drag to change the order. If you upload more than four images, make sure to change the “Image Count” so they all show up.
Be sure to click the green check box to save your changes.
(The very tiny type under the image in the gallery is the image name.)
SAVE DRAFTS
Use the Blue “Save Draft” button to save changes until you are ready to take the post live. .
PUBLISH YOUR POST
When your new post is ready to go live, click the purple cicle icon on the lower right, click the green “Publish” icon button on the lower left. It will then change to a green “Save” button. Use the “Save” button for any new changes.
PREVIEW FOR DIFFERENT DEVISES
On the lower right are icons that indicate a desktop computer, a tablet, and a mobile devise. If you click on them it will preview what the post will look like on each of these windows.
POST CATEGORY
To change the post category (Tin Horn, News, Features) Exit the Visual Builder, use the Edit Post Tab and check the appropriate “Post Category” from the right column.
“POST TITLE INSERTS HERE” PHOTO GALLERY
Click for a larger view of each image…
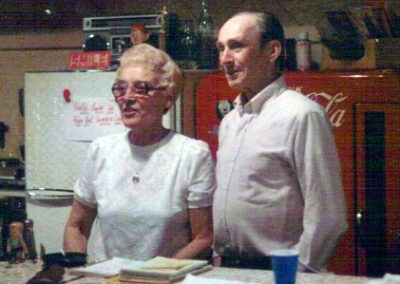
veits-at-mvil-bowl-1986
Betty and Bob Veit, long time proprietors of Evergreen Lanes, sold it to Mike Finberg and partners in 1986
